In most cases, after a re-installation of a Windows operating system, you may encounter some device driver issues with the newly installed one.
During the installation of Windows 7 and above at the point where you need to choose the drive to install Windows, you have the choice to delete or format partitions in which you will lose all the data on that drive. But if you don’t perform either of these, you may decide to install Windows on a drive that is already containing an existing Windows installation that you want to replace.
In this case, all you need to do is to make sure you at least have 24GB of free space on that drive, it could be less that, but that’s the recommended space. This will allow you to re-install Windows without losing your files.
The image below should appear when you’re trying to install Windows on a drive that’s already containing an existing Windows OS.
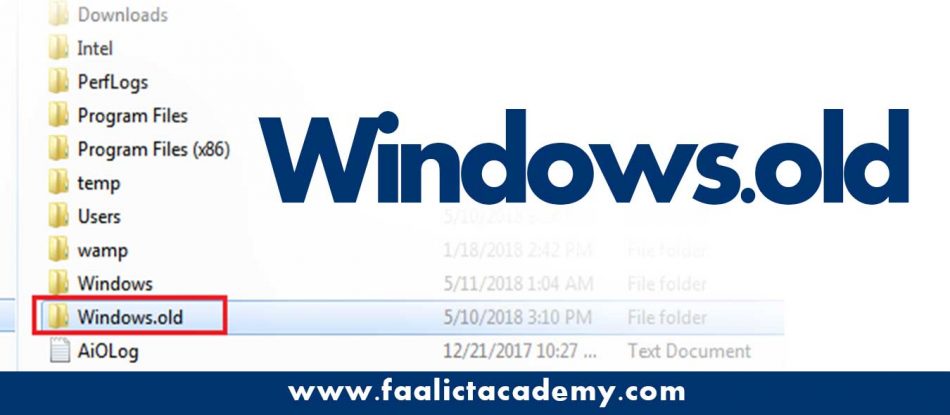
If the partition you’ve chosen contains files from a previous Windows installation, these files and folders will be moved to a folder named Windows.old. You’ll be able to access Windows.old, but you won’t be able to use your previous version of Windows.

Restore Device Drivers From Windows.old Folder
After the installation of the new Windows, you can simply restore the drivers from the previous installation instead of using a DriverPack. First you’ll need to go to your device manager to see the missing drivers and then right click and choose Update Driver Software.

Choose the second option on the next screen.

Browse for the Windows folder that is within the Windows.old folder.C:\Windows.old\Windows

After choosing the Windows folder, click Ok and then click Next for the system to search for the appropriate driver.

If found, Windows will automatically install it.

How To Delete The Windows.old Folder
Now that you’ve reinstall the drivers, you may want to delete the Windows.old folder to save some space. In most cases, you may have difficulties deleting the Windows.old folder. So follow the methods below to entirely delete the folder.
NOTE: Before deleting this folder make sure you go to C:\Windows.old\Users\AccountUsername and move all your important files from there.

First, right click on the drive containing the Windows.old folder, usually drive C: and clickProperties.

Within the properties dialog box, click Disk Cleanup

Next, you should see the Disk Cleanup dialog box, check only the Previous Windows installations and click Ok.

Allow Disk Cleanup to complete the cleaning.

That’s it!
I hope this post was useful, please don’t forget to subscribe or leave a comment.
Post you may be interesting in…
https://faalictacademy.com/tips/first-aid-on-5-common-pc-problems
Ousman Faal [Digital Vigilante] is a Tech Entrepreneur & Digital Skills Trainer who teaches both in the classroom and online. He has experience in various technologies and likes sharing it with others. Ousman has published 149 articles on this blog. He is the CEO of Faalen Technologies and Skills.gm.

