
Every website or web application requires a domain name and a web host to be accessed on the open internet. Whether you are a web development student learning how to build websites or web applications, you would want to upload your site on the web for people to see. Or maybe you are an experienced developer who wants to test a site online or maybe you wish to launch a temporal website, then this post is for you.
Note: This is meant for testing and learning purposes only I don’t recommend using a free domain name and web hosting for a website you’re going to build for a client.
If this is the first time you’re reading about domain names and web hosting I will recommend reading this article first.
How To Get a Free Domain Name?
Domain names usually cost around $8 or $17 in most cases for .com or .org domains but you can get a free domain name at $0 without having a credit or debit card.
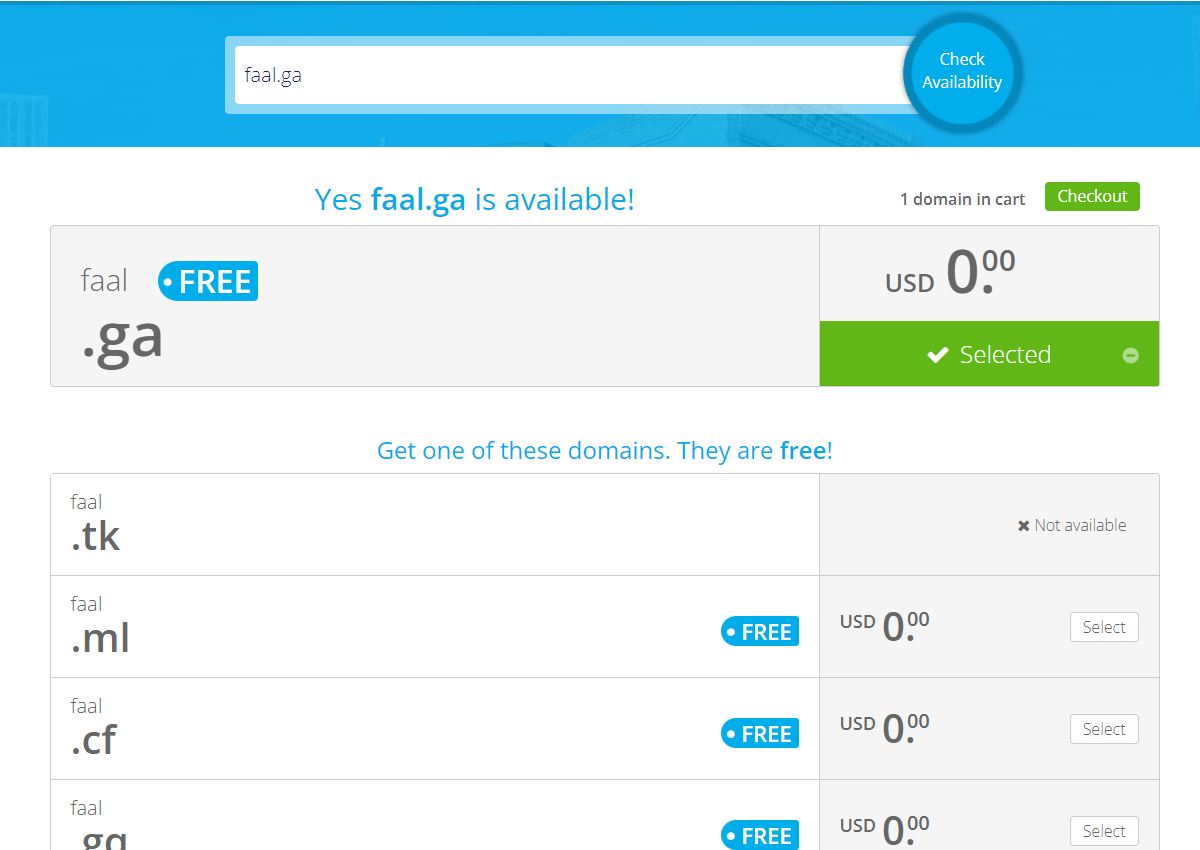
Go to Freenom.com and search for a free domain name. Note that you won’t be able to acquire a free .com domain but only .tk .ml .ga .cf and .gq on Freenom.com. So when you are searching don’t use .com instead use for example faal.ga. See the example screenshot below.
After confirming the availability of your free domain, click on Checkout to continue.
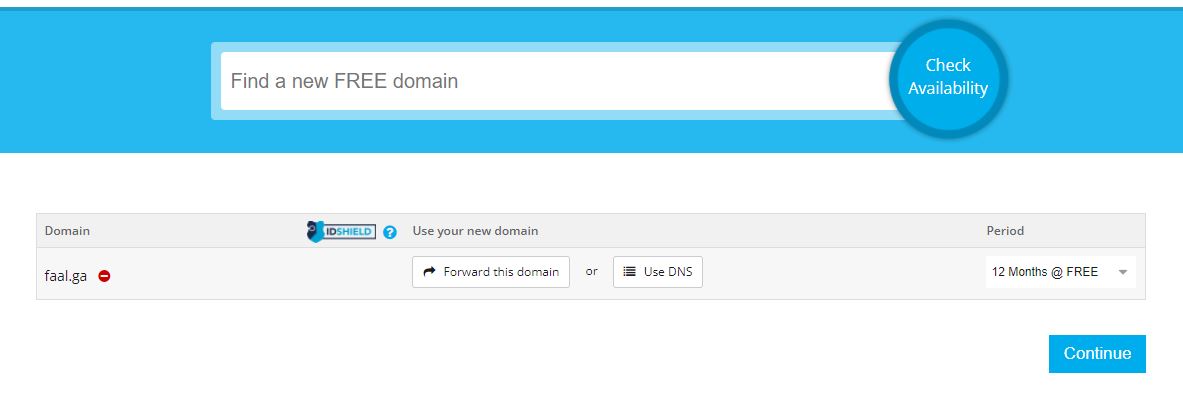
On the next screen choose the period for the domain name. You have up to 12 months to use the domain name for free after which you will need to pay to continue using it. There are also options to forward the domain name to an existing domain or use DNS by adding nameservers. We are going to ignore that part from now till later. Click “Continue” to proceed.
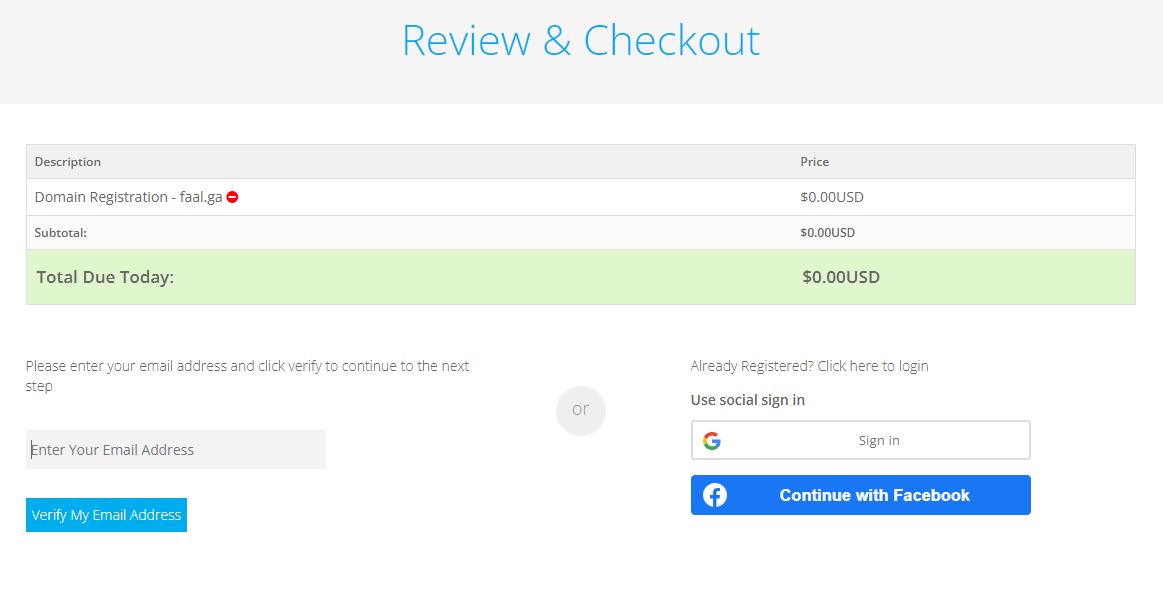
On the Review and Checkout page, you will need to enter a valid email address to verify your account.
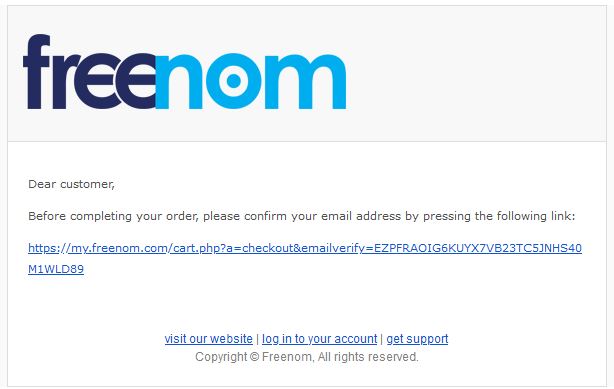
After doing that you will need to log into your email account and click on the verification link to continue.
After clicking on the verification link, this should take you back to Freenom to complete your order. Fill in the required fields to complete your order.
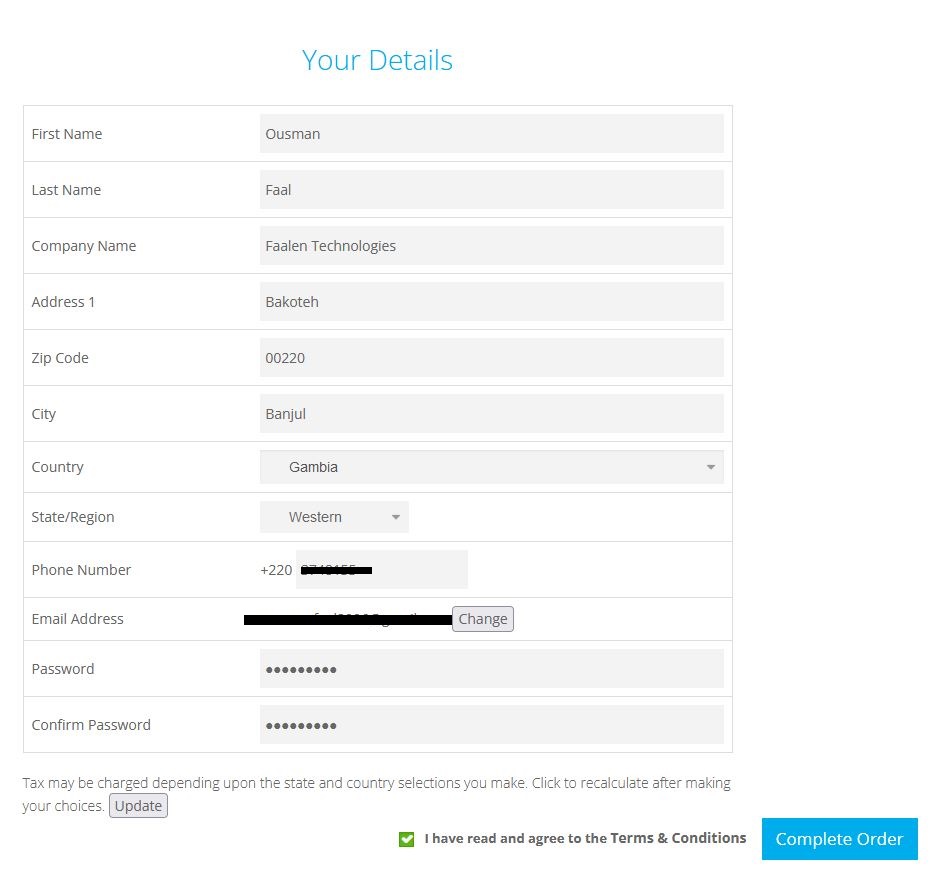
After the order is confirmed, click on “Click here to go to your Client Area” to view your Freenom account.

How To Get Free Web Hosting?
Now that you have acquired a free domain name, the next step is to get a free web host for your domain to point to. The web hosting will be where your website files are going to be housed, and to access the website we will need to provide our existing domain name the Nameservers of the web host so that they can connect.
Even though there are numerous web hosting companies that are providing free web hosting I will be recommending Infinity Free for free web hosting. Infinity Free is powered by iFastNet a reliable web hosting company that I have been using for several years now. If you want premium web hosting from iFastNet for as low as $4.99/month you can use our referral link below to get the best premium hosting at reasonable rates with premium tools you won’t find in many others.
Referral link
![]()
How To Create an Account On Infinity Free?
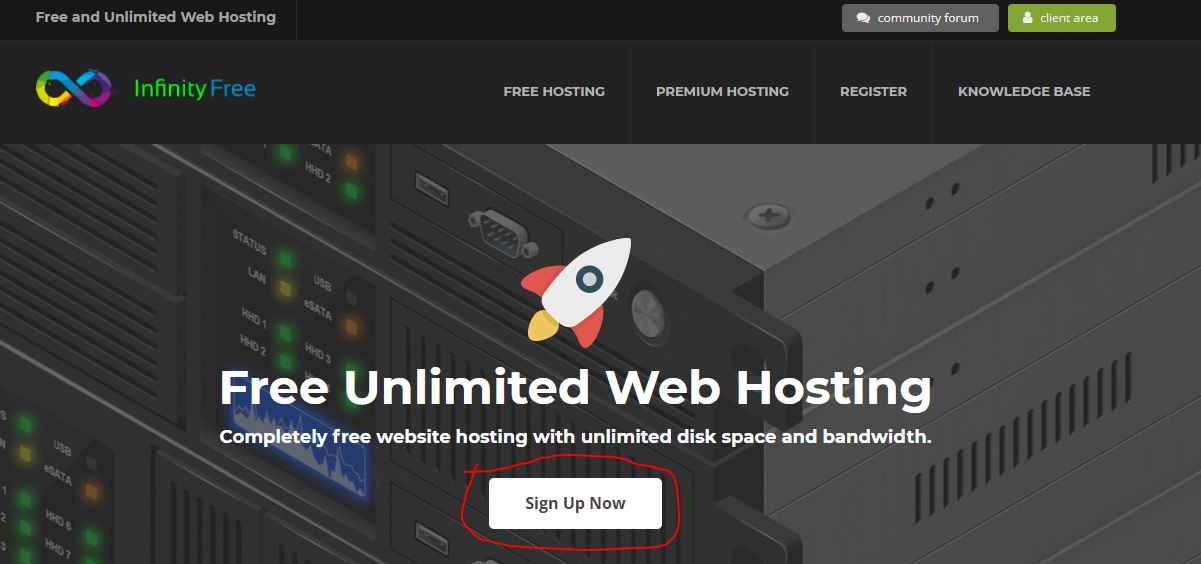
First, you will need to visit infinityfree.net and click on Sign Up Now to get started.
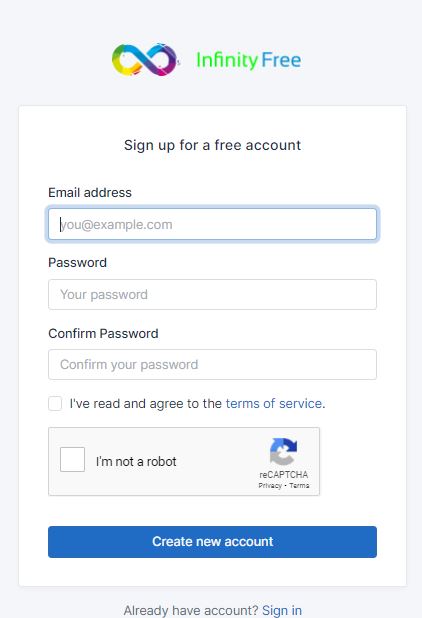
Enter a valid email address and password for your new account and then click on “Create Account“.
On the next screen, you will be sent the verification link to your email account.

Login to your email account to click on the verification link. In case you don’t see it in your Inbox you can check in your Junk folder.
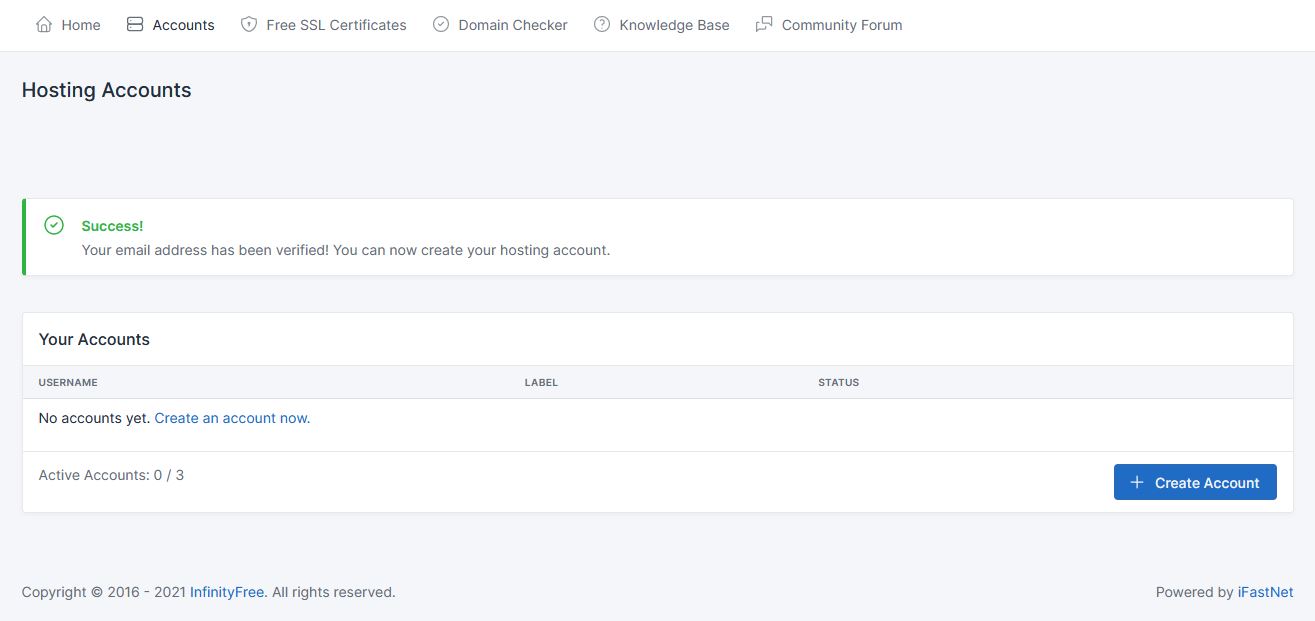
Now you should be taken to the Infinity Free dashboard to get started. Click “Create Account” to proceed.
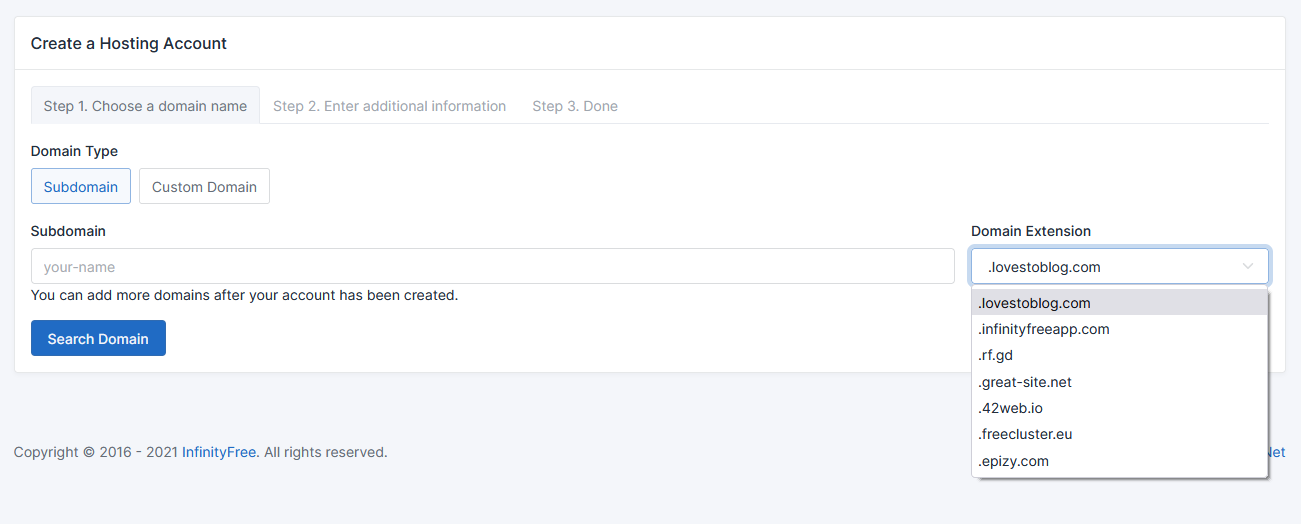
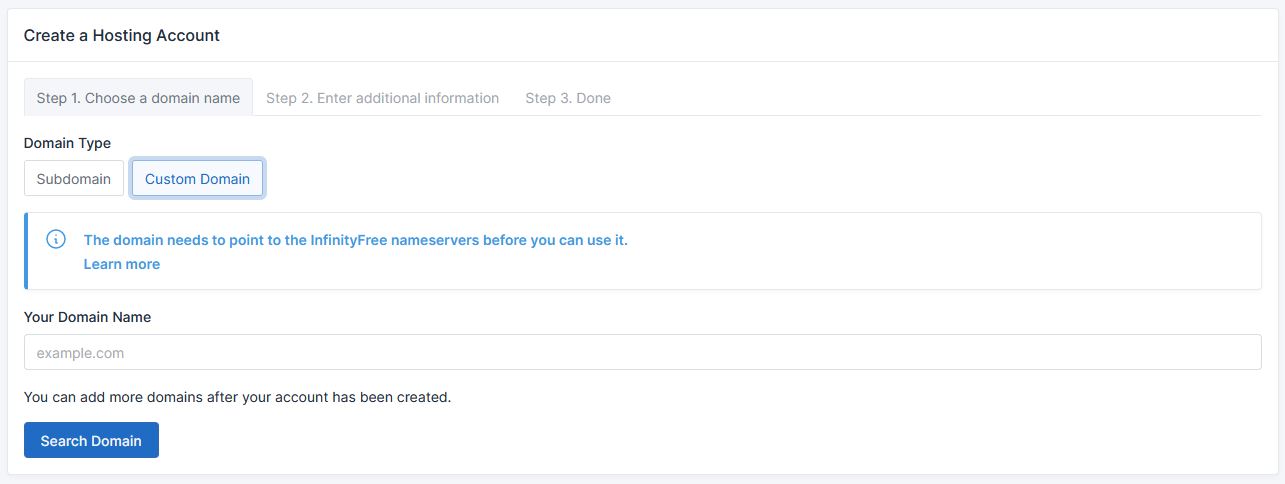
On the account creation screen, you have two options to choose from, a Subdomain or Custom domain. You will only choose Subdomain when you don’t have an existing domain name. In our case, we already acquired a domain name from Freenom.com so we are going to choose Custom Domain.
After clicking on Custom Domain, add your domain name and click on “Search Domain”
You should be presented with the screen below with a Success message if the domain name provided is valid and not linked to any web hosting server yet. Now you can enter your Infinity Free password with Captcha and then click “Create Account” to proceed.

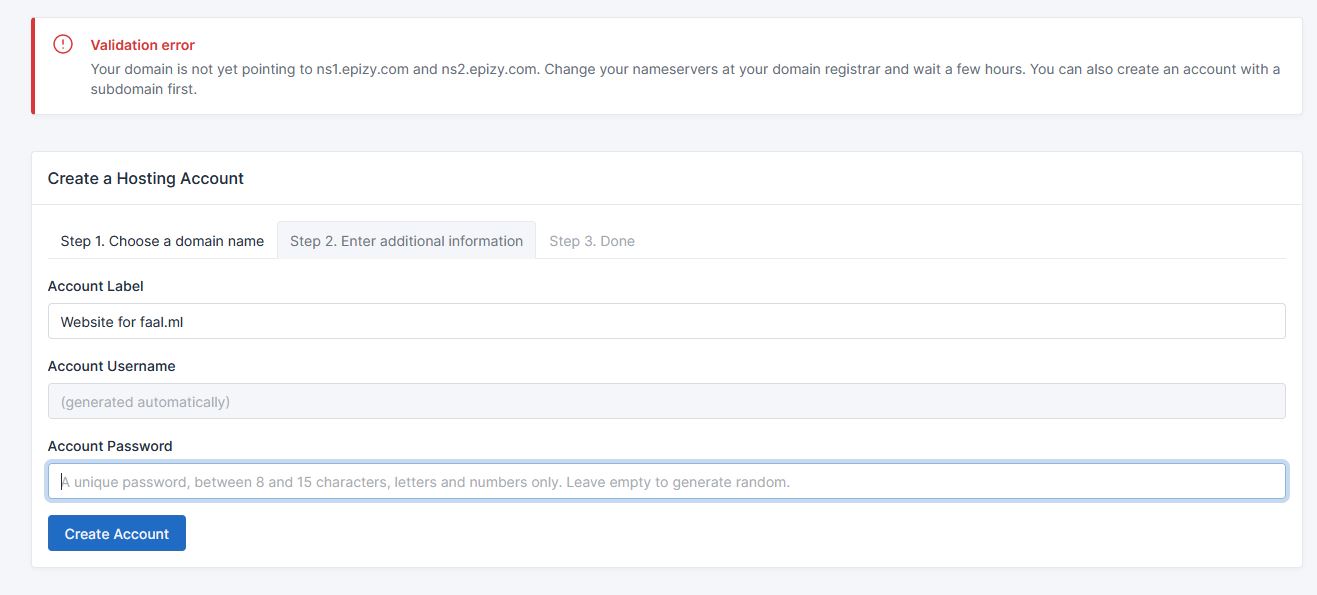
On the next screen, you should see a validation error saying that your domain is not yet pointing to ns1.epizy.com and ns2.epizy.com. These are the two nameservers that you need to link the domain and the web host. Remember your domain is registered on freenom.com if you’re following along. Now you have to copy these two nameservers (ns1.epizy.com and ns2.epizy.com) and then go back to your freenom.com account.

On your freenom.com account, go to the Services page and click “My Domains” to view your domain name.

On the domain list area, you will see your domain listed and status as ACTIVE. Click on “Manage Domain” to view settings.

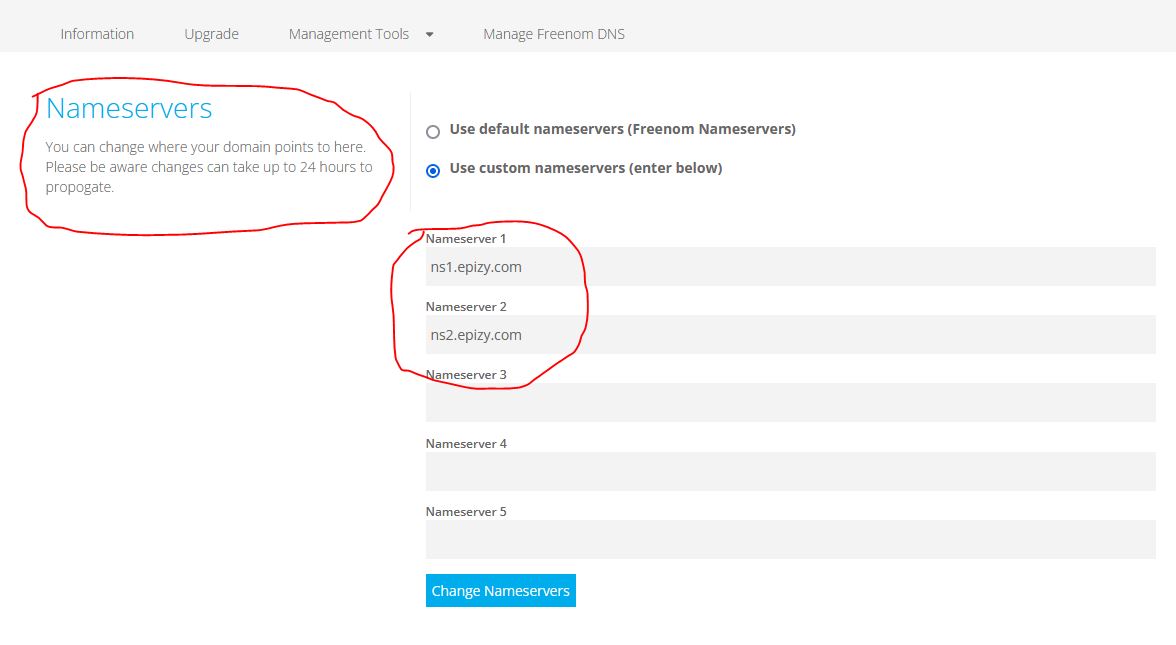
On the Manage Domain area, click on “Management Tools” and then choose Nameservers.

In the Nameserver screen, choose “Use custom nameservers” and paste the nameservers you copied from Infinity Free (ns1.epizy.com and ns2.epizy.com) like in the image below. Now you can click “Change Nameservers“. Take note that the changes could take up to 24hrs to propagate but in normal circumstances, it’s way less than that.
You should now see “Changes Saved Successfully“.
Now go back to Infinity free to complete the account creation. From this screen below, enter the Infinity Free password again and click “Create Account” again.
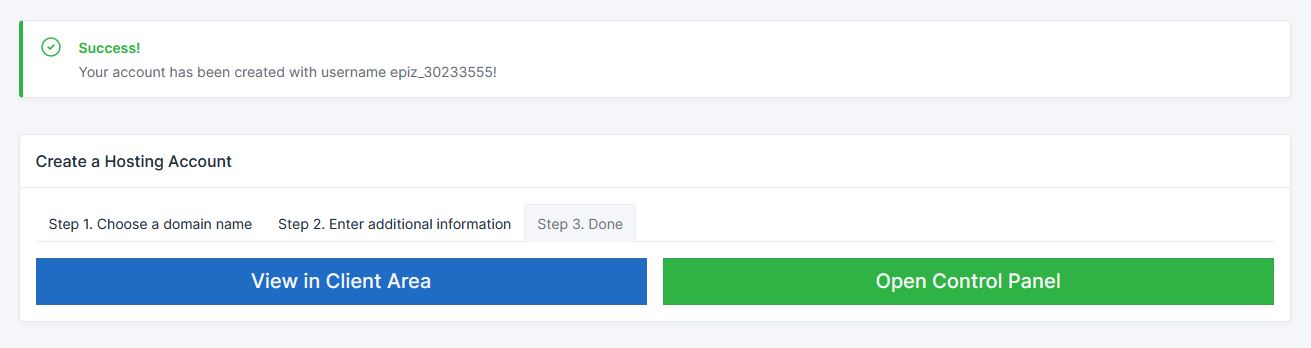
If everything goes well, you should see the “Success!” message. Now that your domain is linked to your web host, click “View in Client Area“.
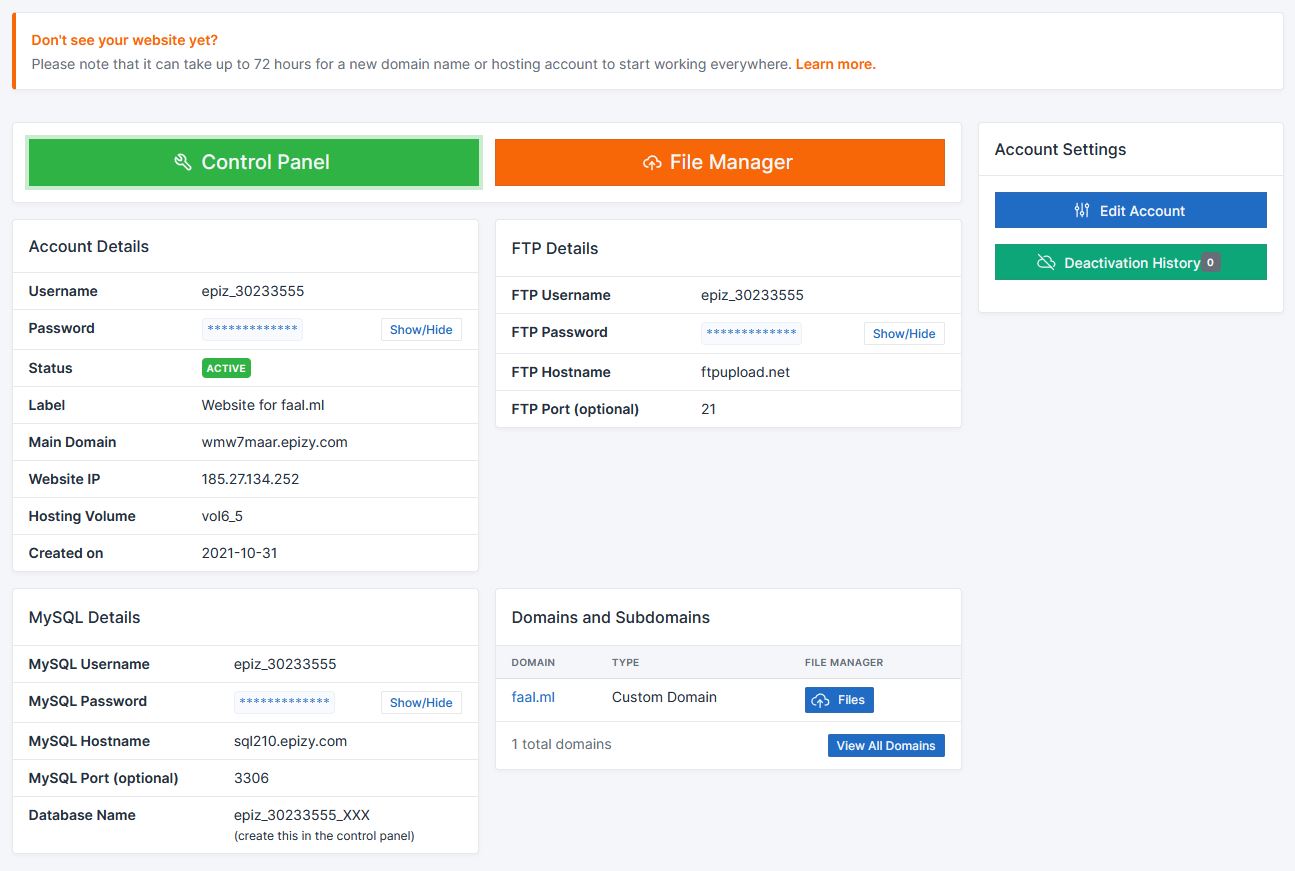
Now you will see all the details of your web hosting account. Click on “Control Panel”
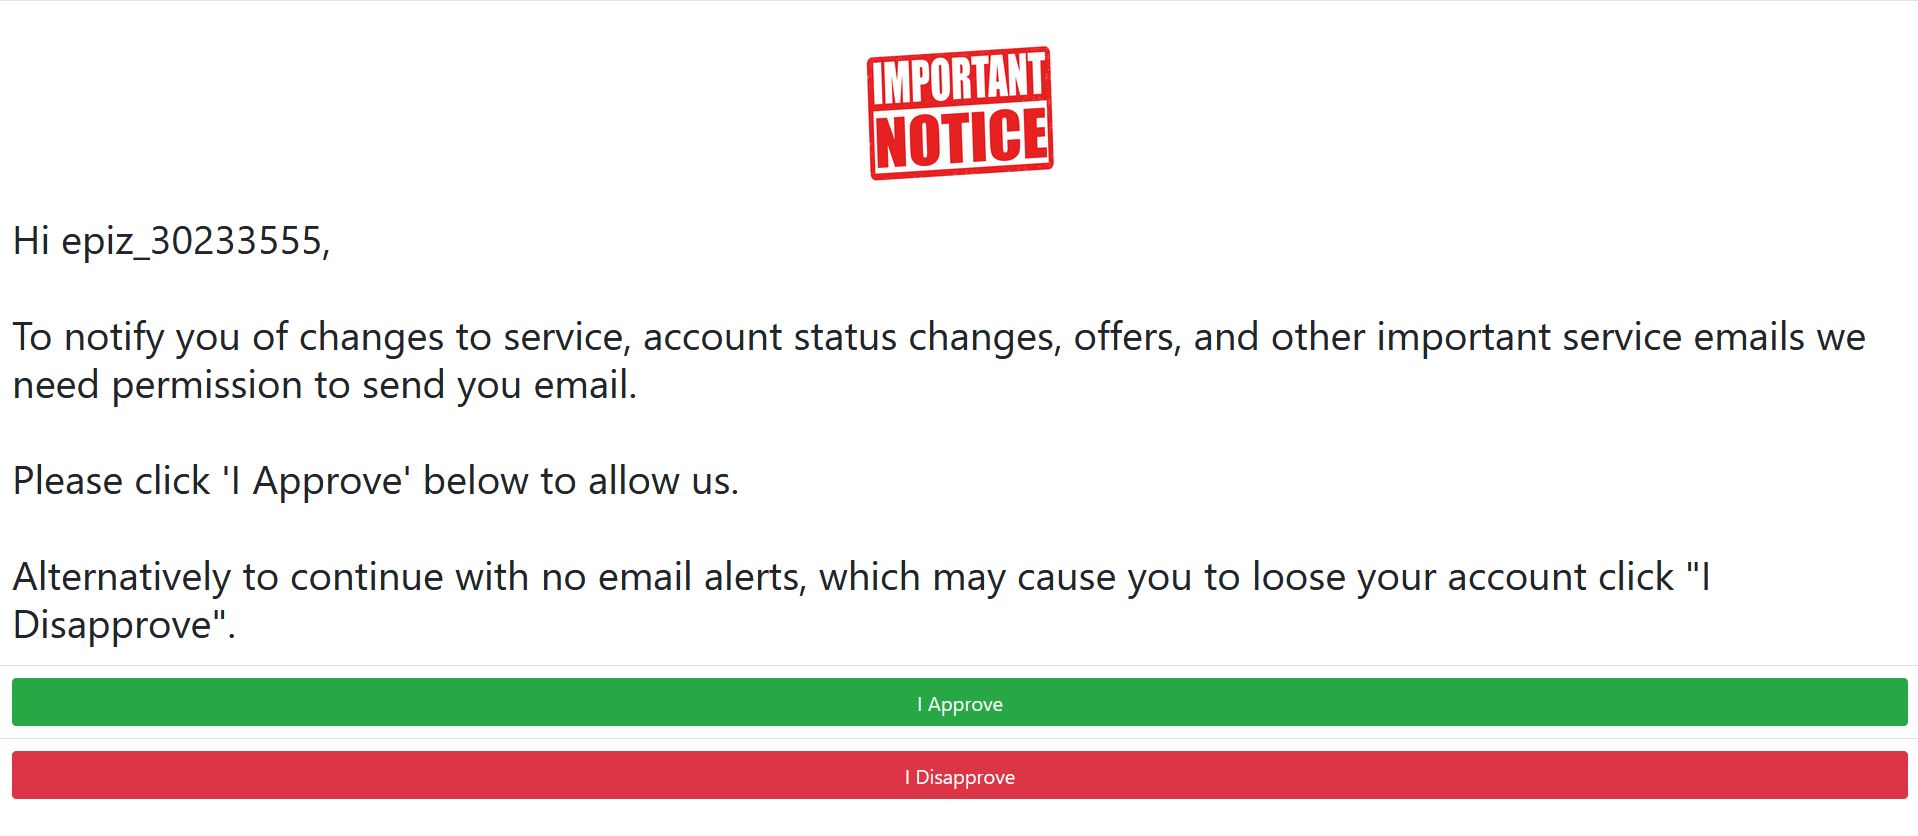
You may see a message like this, just choose “I Approve” otherwise you may lose your account.
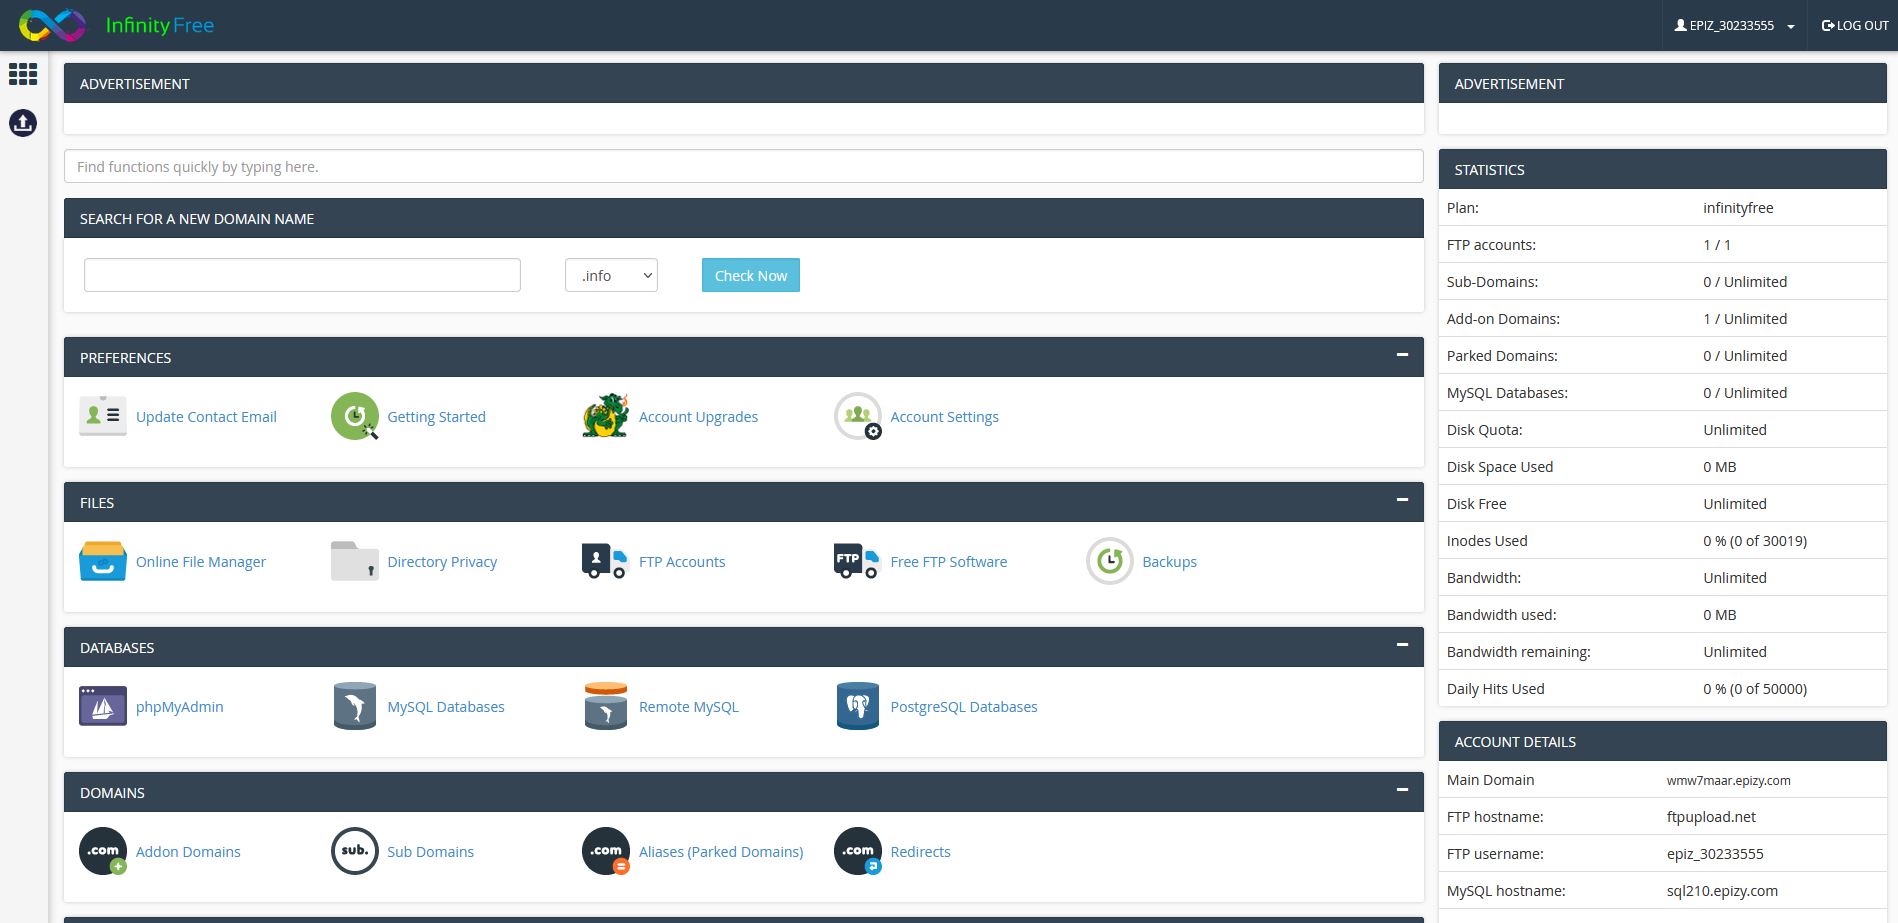
You should now be taken to your Control Panel to see the services and tools available on your hosting account.
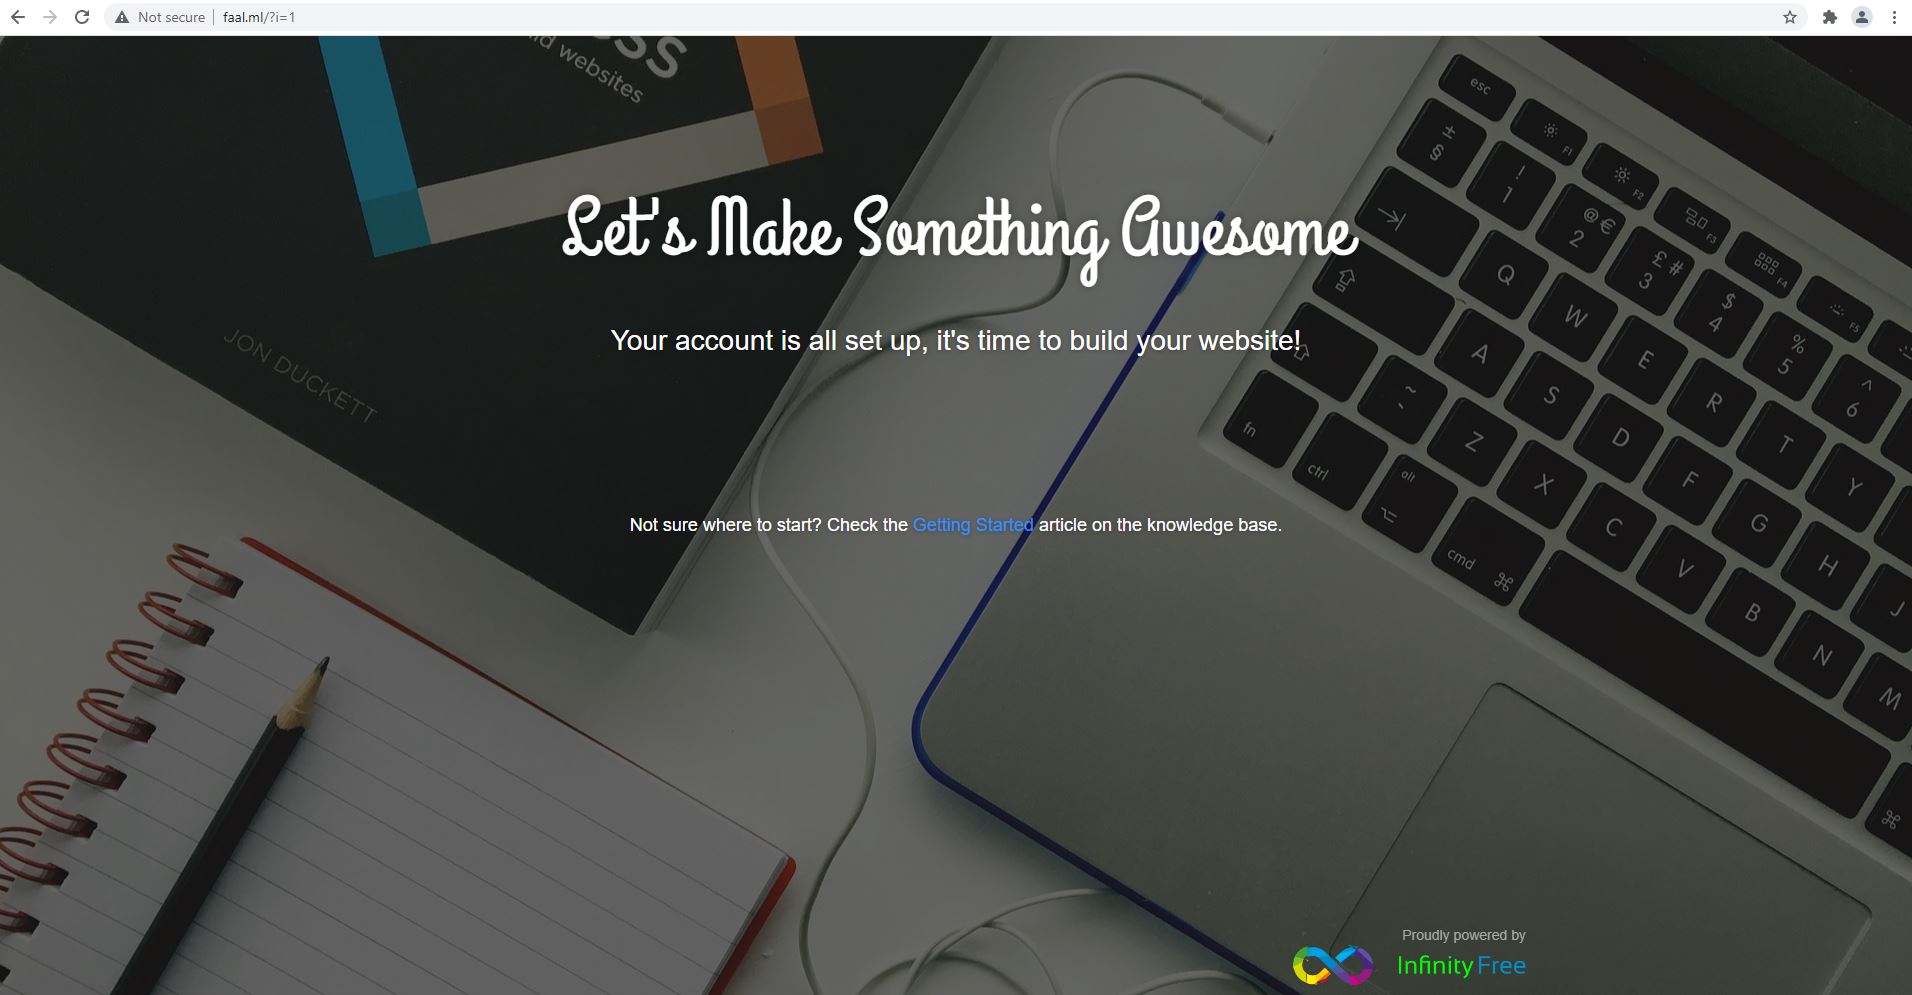
To test if your domain is actually pointed to your web host, launch your web browser and type the domain name. You should see the screen below.
How To Upload Your Website?
Now go back to your Infinity Free Control Panel and click on online File Manager so that we can upload a website. This should take you to the File Manager.
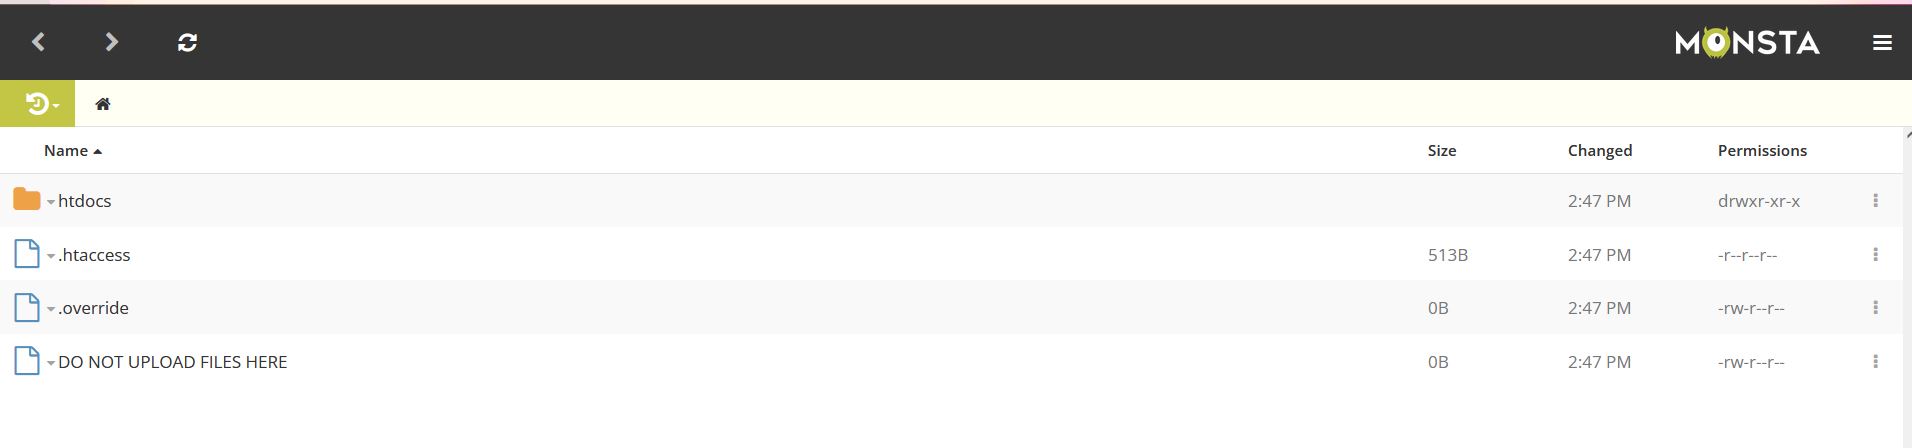
Click to open the “htdocs” folder. This is where your website files should be uploaded.

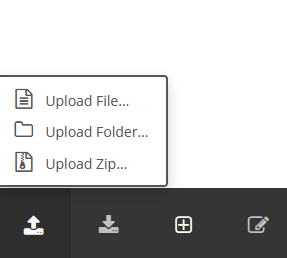
At the bottom of the screen click the upload button to upload all files and folders of your website.
Make sure your index.html file is not in a folder but in the root directory.

Go back to your web browser. If everything goes well you should see your website’s homepage.
For those who wish to upload a WordPress website, you may need to create a database and user and follow the instructions on this blog post link below.
https://blog.hubspot.com/website/migrate-site-wordpress-duplicator
Ousman Faal [Digital Vigilante] is a Tech Entrepreneur & Digital Skills Trainer who teaches both in the classroom and online. He has experience in various technologies and likes sharing it with others. Ousman has published 149 articles on this blog. He is the CEO of Faalen Technologies and Skills.gm.

